Swagger官网
maven依赖
1 | <dependency> |
快速开始
Idea新建一个空的SpringBootWeb项目
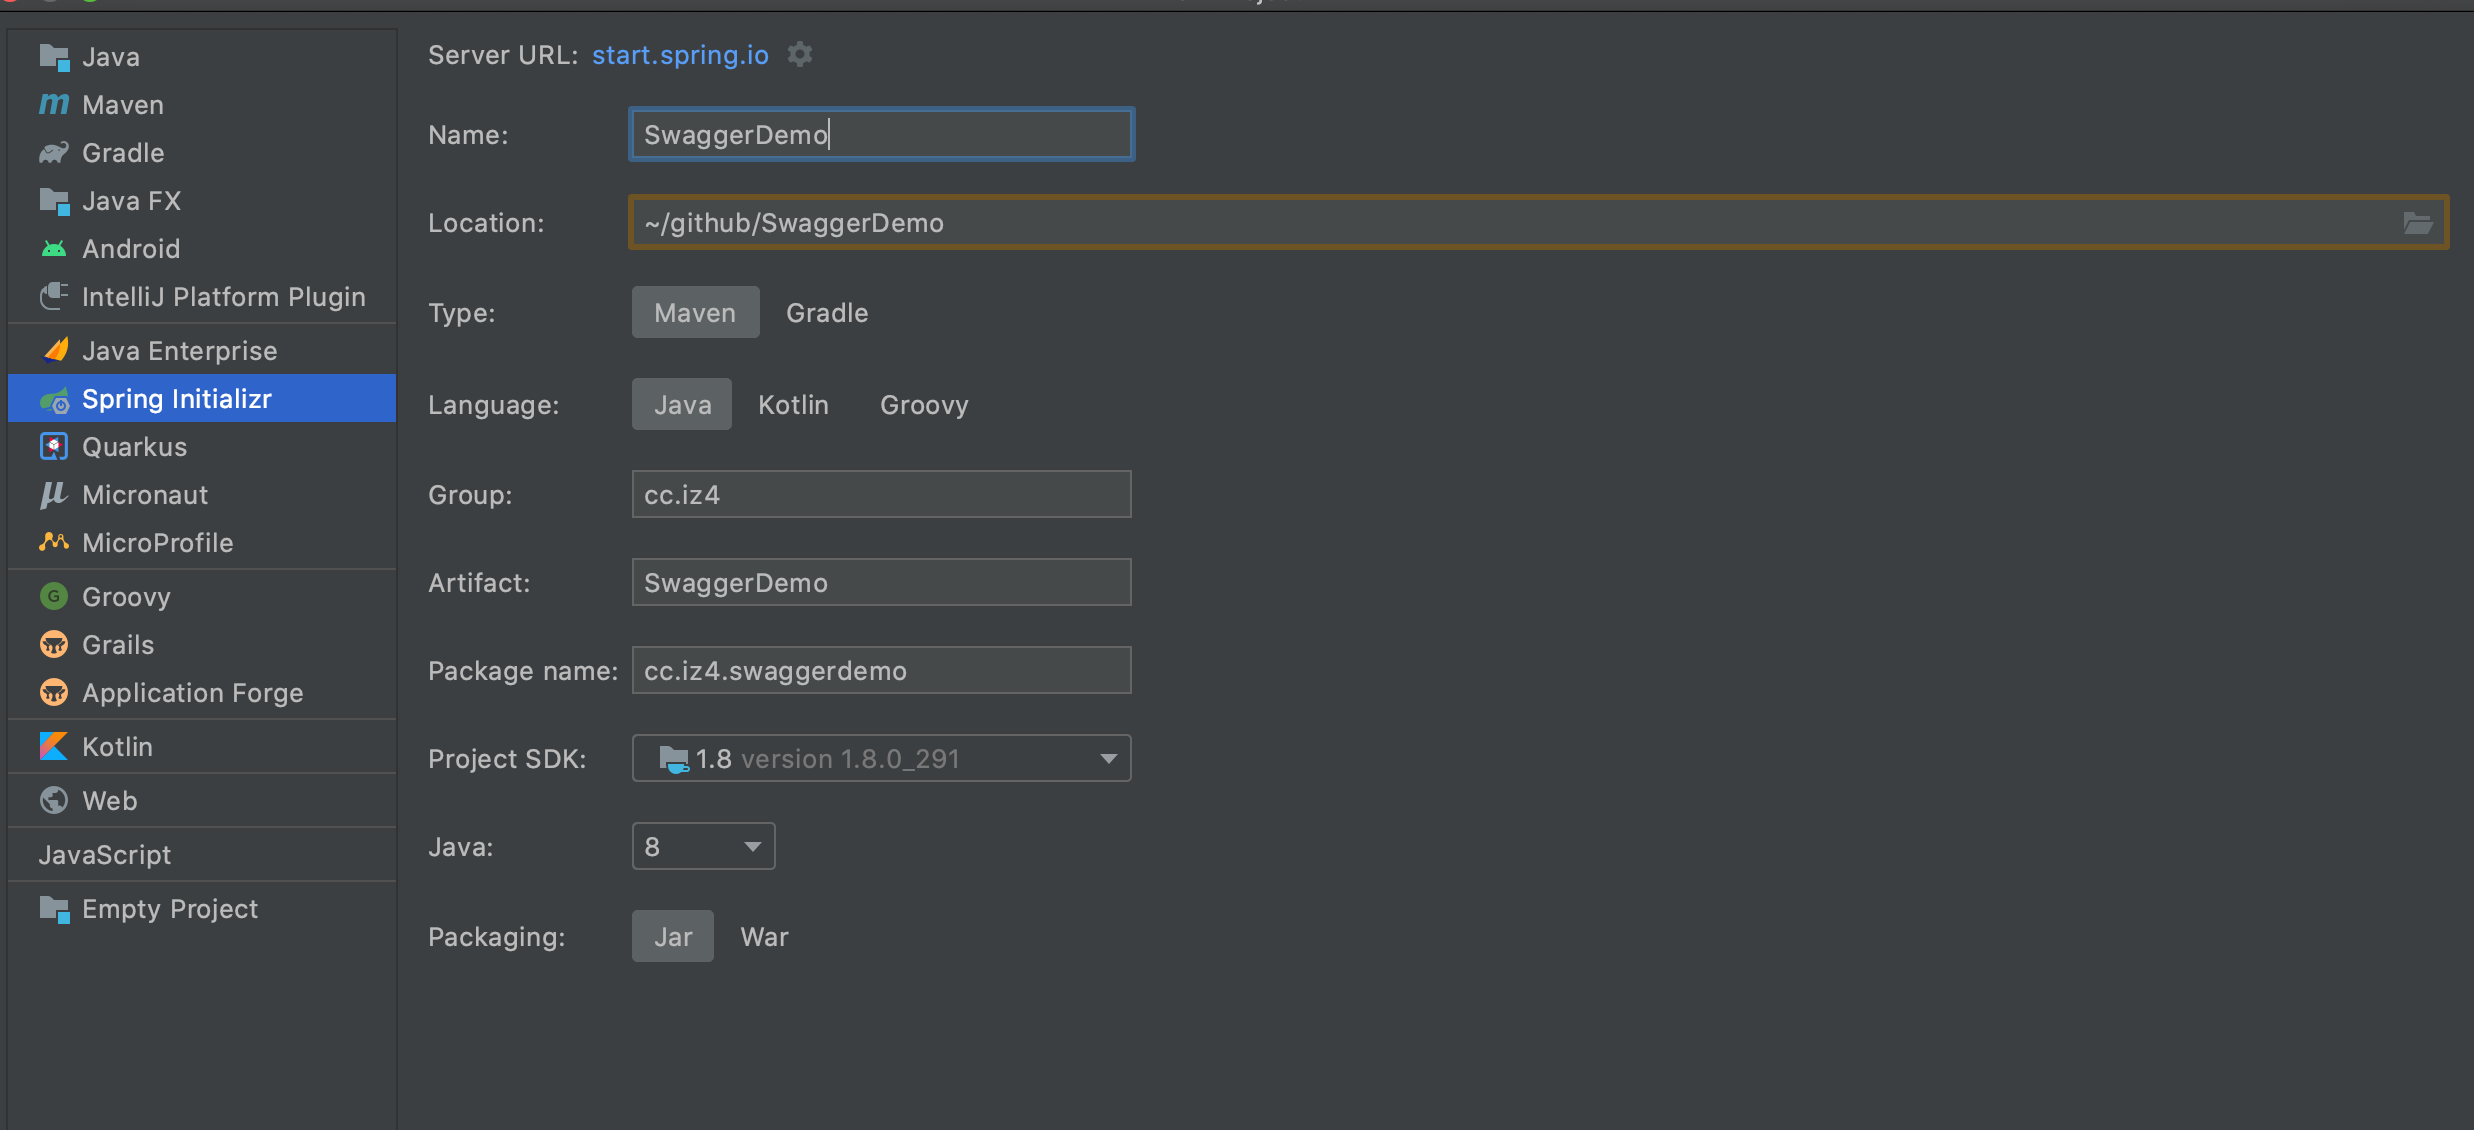
pom.xml中加入上述maven依赖,等待idea加载
一般springboot的"boot-starter"的jar包,都带有自动配置,所以先查看springfox-boot-starter提供的自动配置都有哪些
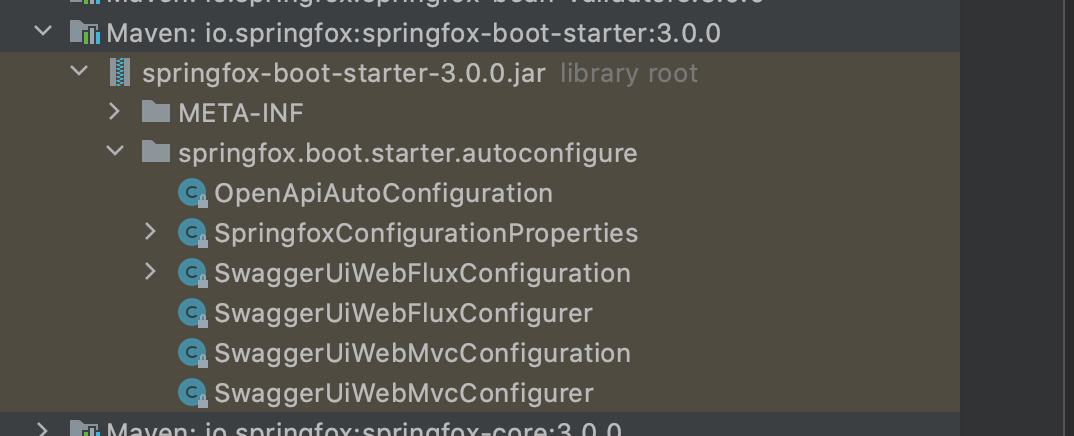
可以看到就只有几个配置类,用到的配置并不多,这里有两个比较有用的配置
1
2
3
4
5
6springfox:
documentation:
enabled: true # swagger全局开关,false则关闭,缺省为true
swagger-ui:
# 这个相当于url的前缀,例如这里加了/api后访问swagger-ui的url变为: http://localhost:8080/api/swagger-ui/
base-url: "/api"编写一个HellController
1
2
3
4
5
6
7
8
9
10
11
12
13
14
15package cc.iz4.swaggerdemo.controller;
import org.springframework.web.bind.annotation.GetMapping;
import org.springframework.web.bind.annotation.RestController;
public class HelloController {
public String hello() {
return "hello";
}
}启动并打开:http://localhost:8080/api/swagger-ui/
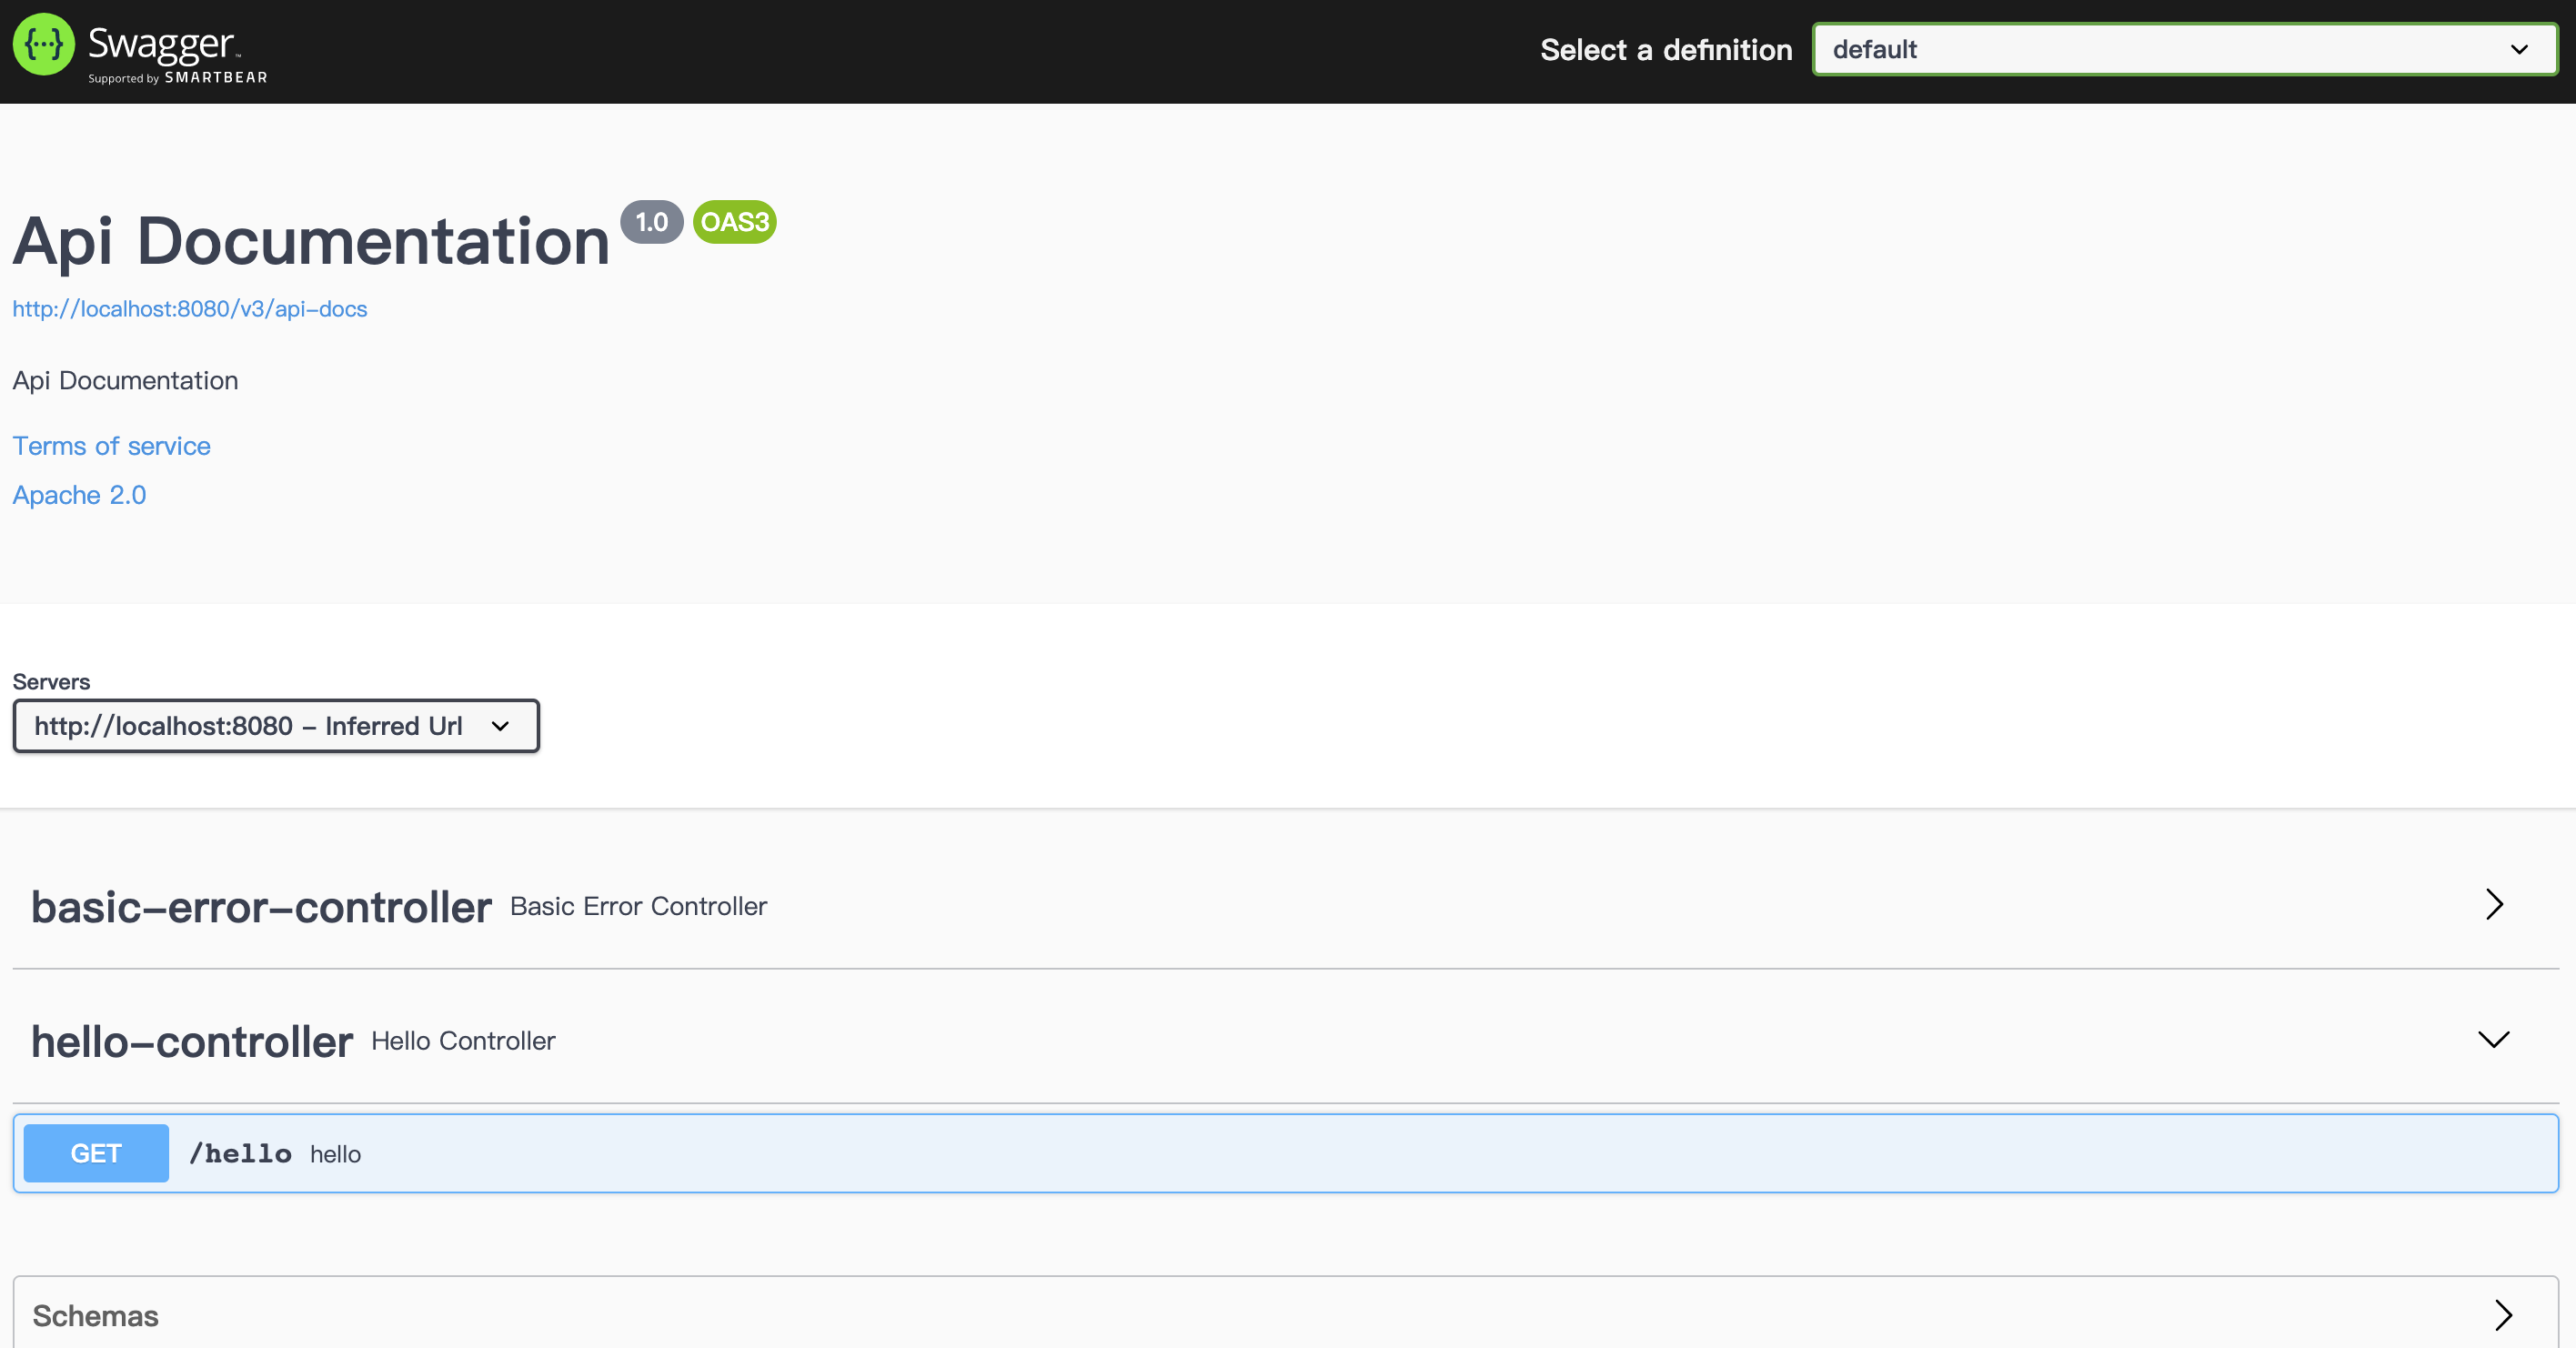
可以看到,默认生成了这么一个界面,如果只是为了方便简单测试接口,那么这样就可以开始使用了,但是如果要修改这里页面中的文档的标题、描述信息这些那就需要自定义个Config类来实现
自定义配置
编写一个Configuration类
1
2
3
4
5
6
7
8
9
10
11
12
13
14
15
16
17
18
19
20
21
22
23
24
25
26
27
28
29
30
31
32
33
34
35
36
37
38
39
40
41
42
43
44
45
46
47
48
49
50
51package cc.iz4.swaggerdemo.config;
import org.springframework.beans.factory.annotation.Autowired;
import org.springframework.beans.factory.annotation.Value;
import org.springframework.context.annotation.Bean;
import org.springframework.context.annotation.Configuration;
import springfox.documentation.builders.ApiInfoBuilder;
import springfox.documentation.builders.PathSelectors;
import springfox.documentation.builders.RequestHandlerSelectors;
import springfox.documentation.service.ApiInfo;
import springfox.documentation.service.Contact;
import springfox.documentation.spi.DocumentationType;
import springfox.documentation.spring.web.plugins.Docket;
public class SwaggerConfig {
Docket docket(ApiInfo apiInfo) {
// new Docket(), 接收一个DocumentationType, 提供的选择 SWAGGER_12, SWAGGER_2, OAS_30
// SWAGGER_12, SWAGGER_2, OAS_30 分别对应 Swagger的1.2, 2.0, 3.0版本
// enable() true 则这个docket可以在浏览器中显示, Swagger可以有多个docket
// apiInfo 文档标题, 文档描述, 以及作者信息, 开源信息等
// groupName 设置组名,可在浏览器右上角的"Select a definition"选择不同的组
// .select(), .apis(), .paths(), .build()是一组比较固定的写法
// apis和paths需要配合相应的Selectors来使用
// 例如这里 RequestHandlerSelectors.basePackage()是扫描包, 还有any(), none()等方法可选
// PathSelectors提供字符串匹配的方法regx(), ant(), any(), none(), regx正则匹配, ant模式匹配
// 所谓模式匹配:如/hello* 匹配所有以/hello为前缀的path url
return new Docket(DocumentationType.OAS_30).enable(true).apiInfo(apiInfo)
.groupName("group1")
.select()
.apis(RequestHandlerSelectors.basePackage("cc.iz4.swaggerdemo.controller"))
.paths(PathSelectors.ant("/hello*"))
.build();
}
public ApiInfo apiInfo() {
//设置文档标题等信息
return new ApiInfoBuilder()
.title("文档标题")
.description("文档描述")
.contact(new Contact("cc", "https://blog.iz4.cc", "cc@iz4.cc"))
.version("v1.0")
.build();
}
}重启Application,可以看到修改的地方的内容生效了
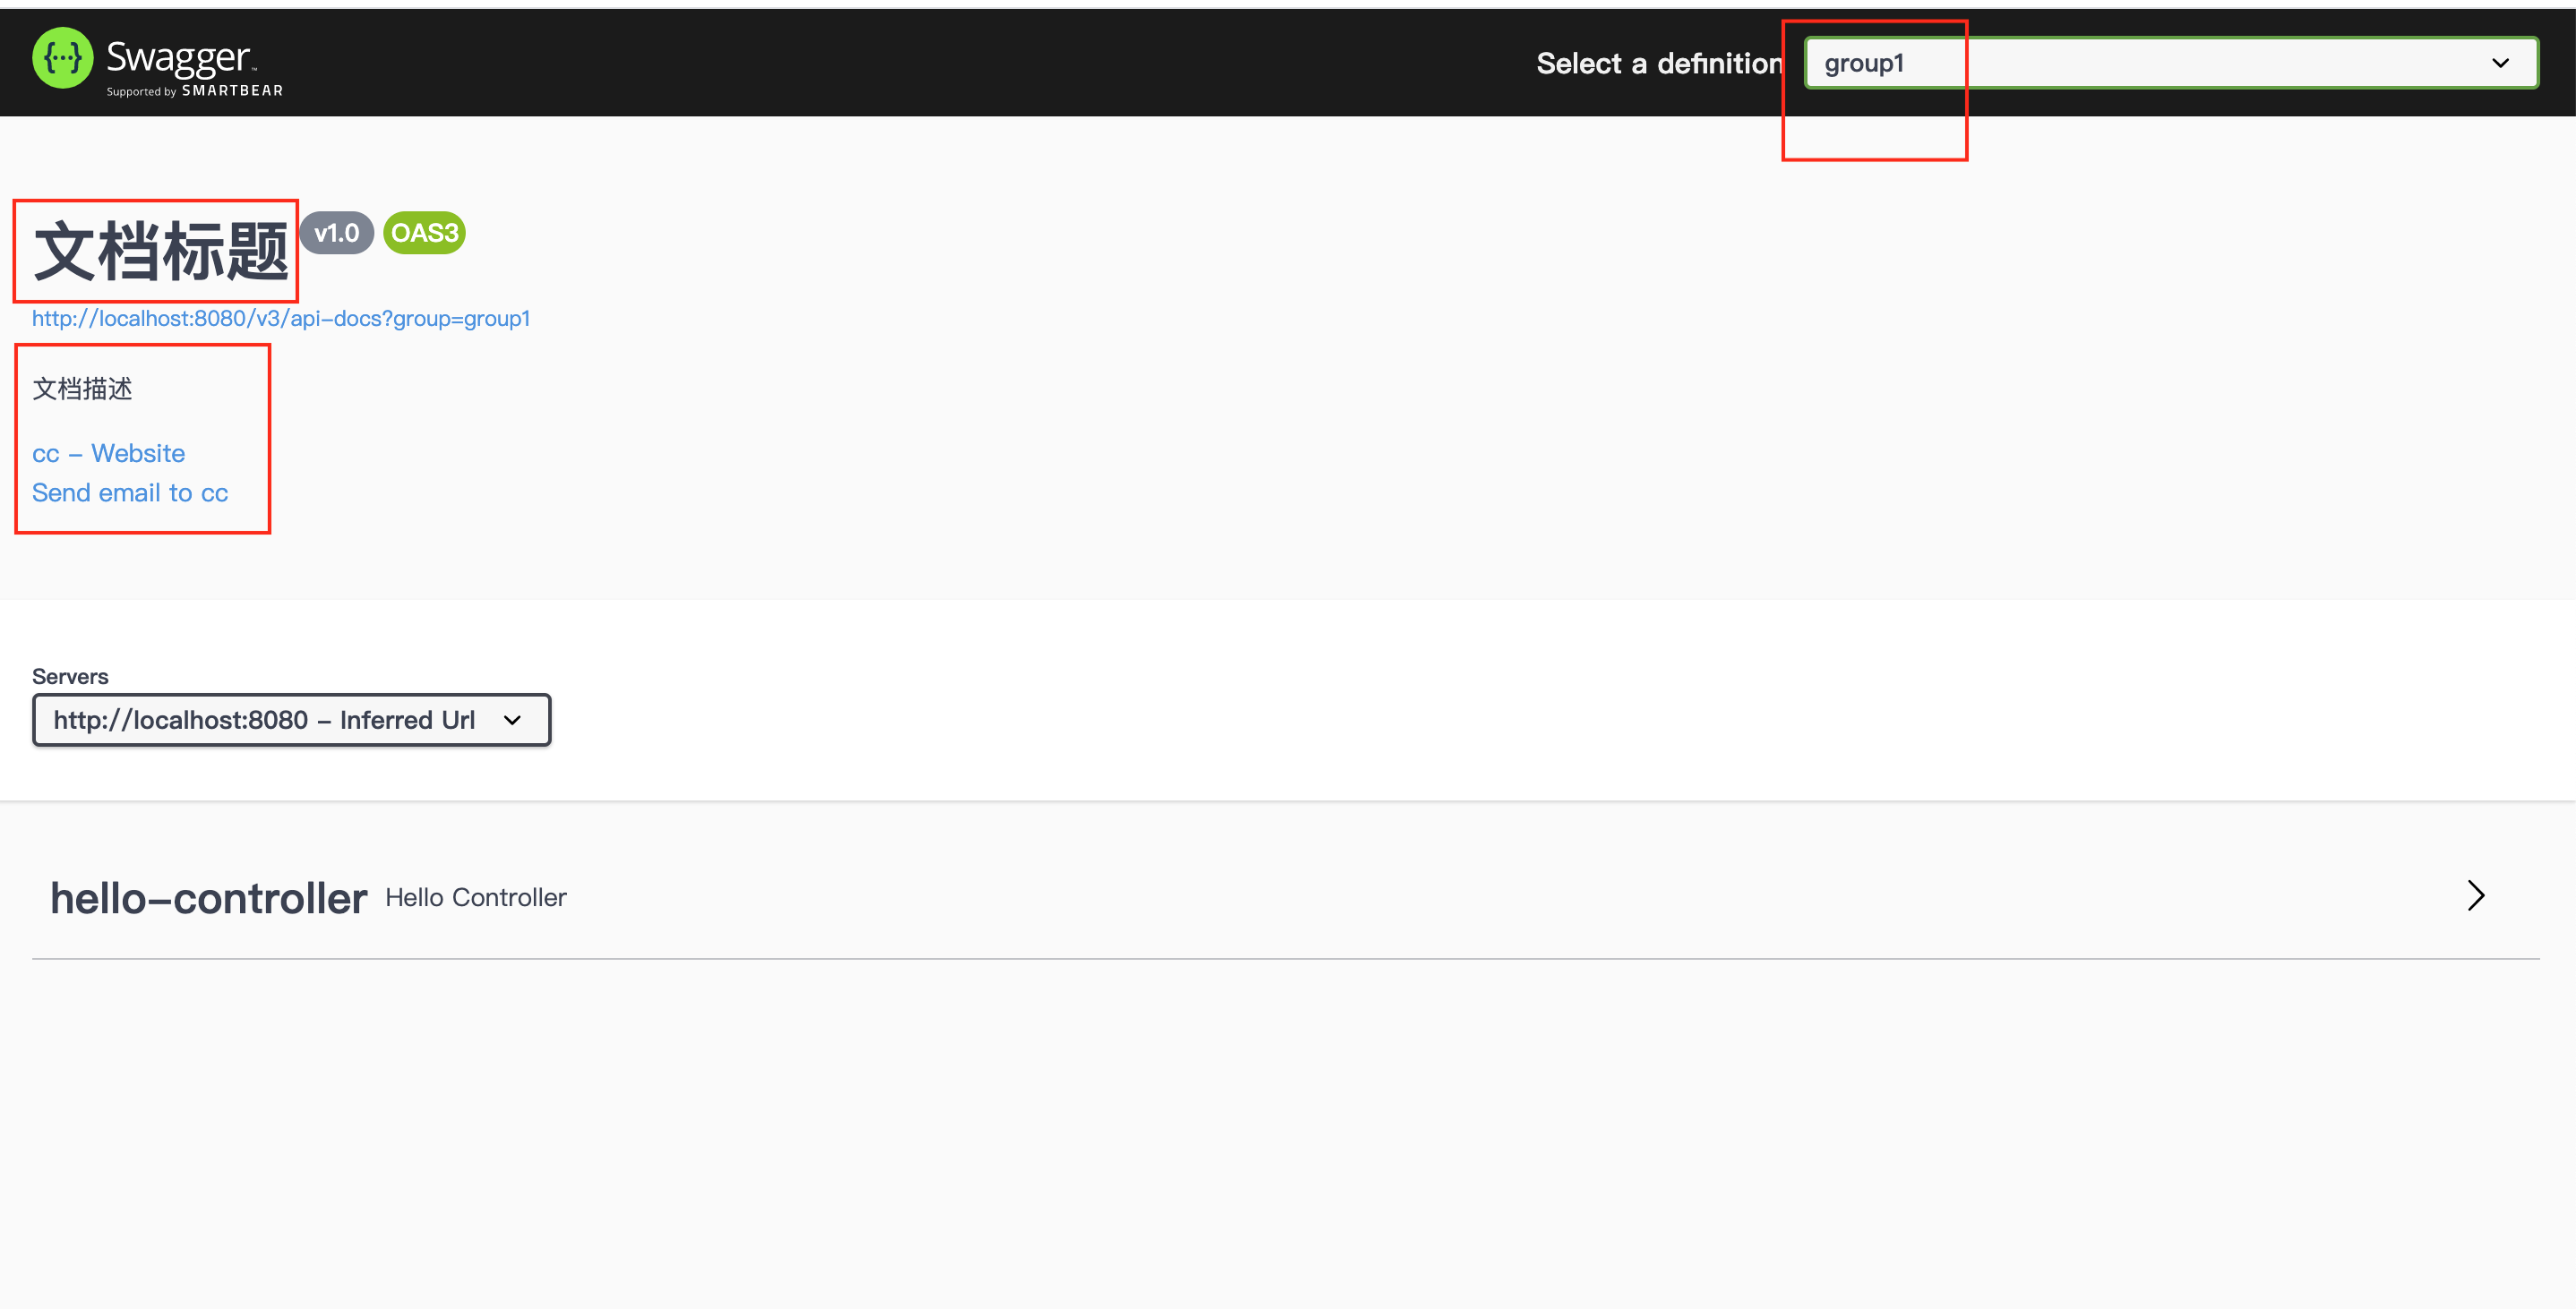
至此可以开始使用swagger来简单测试各个接口